
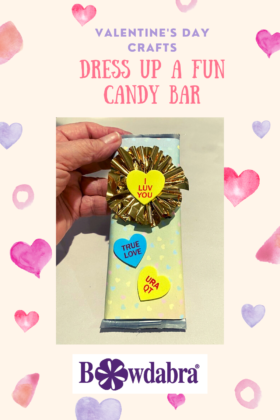
Looking for a way to present a treat for Valentine’s Day, that is easy and allows you to make a bunch of them in minutes? Well, dress up this fun candy bar for Valentine’s Day. It’s a great idea for a party favor or a classroom. Easy step-by-step tutorial. I've used the Bowdabra to create the bow for this craft. You can optionally substitute a premade bow if desired.
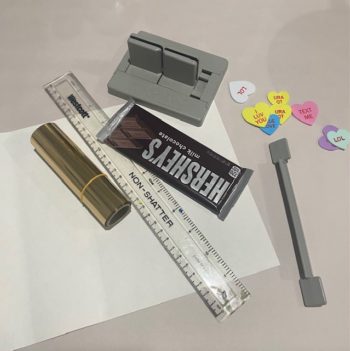
Materials:
- Flat candy bars, square or rectangular
- Heart scrapbook paper
- Tacky glue
- Scrunchy ribbon
- Mini Bowdabra
- Bowdabra bow wire
- Heart-shaped foam stickers
- Ruler, pencil, scissors
Instructions:
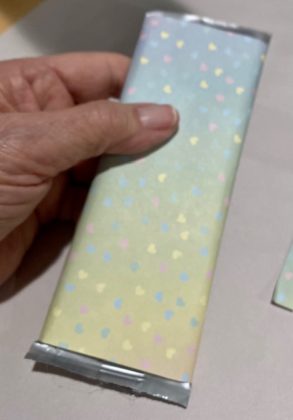
First, measure your candy bar and cut the scrapbook paper to fit around with the ends open. Glue on the bottom first, then wrap around the two sides and glue. Your candy bar is wrapped. Set aside.
First, measure your candy bar and cut the scrapbook paper to fit around with the ends open. Glue on the bottom first, then wrap around the two sides and glue. Your candy bar is wrapped. Set aside.
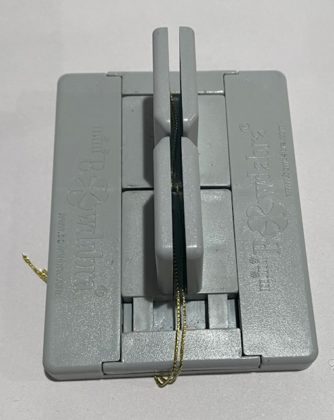
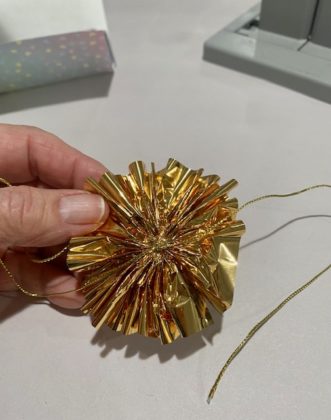
Next, cut a piece of Bowdabra bow wire. Then, fold it in half and insert it into the Bowdabra. You will have a loop on one side and two loose wires on the other side. This will serve as your slipknot. Tuck the ends under to stay out of the way.
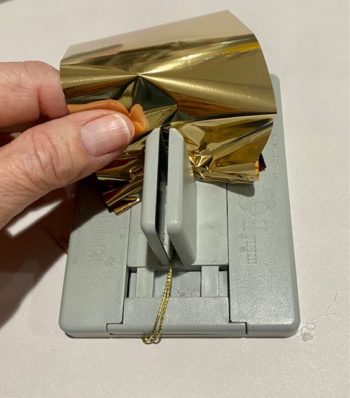
Cut about 12” of scrunchy ribbon and cut in half lengthwise. Begin feeding the scrunchy ribbon from the top down, like an accordion. Scrunch down with the Bowdabra wand.
Thread the two loose wires through the loop and pull tight while the bow is still in the Bowdabra. Remove and separate the ends, turn to the back and tie a knot. Clip the excess wire.
Now, glue the scrunchy bow on the front of your wrapped candy bar. Attach a foam conversation heart to the center and a couple of smaller ones on the front.
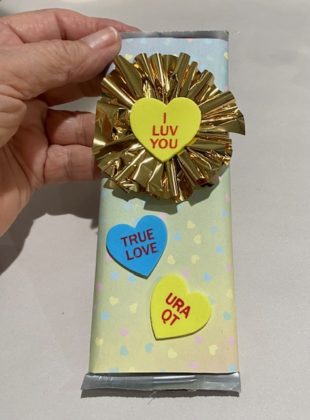
Now, go ahead and make a bunch because one fun candy bar is never enough!
No comments:
Post a Comment
Thanks for your lovely comments!