Showing posts with label snowman. Show all posts

Wednesday, December 21, 2022

How to easily wood burn the cutest snowman gift tag

 Grab some bark wooden rounds and you can make the most adorable snowman gift tag.  You only need a woodturning tool (available at all craft stores and online) and some watercolor pencils.  Add to your gifts for an extra ornament gift on the gift.
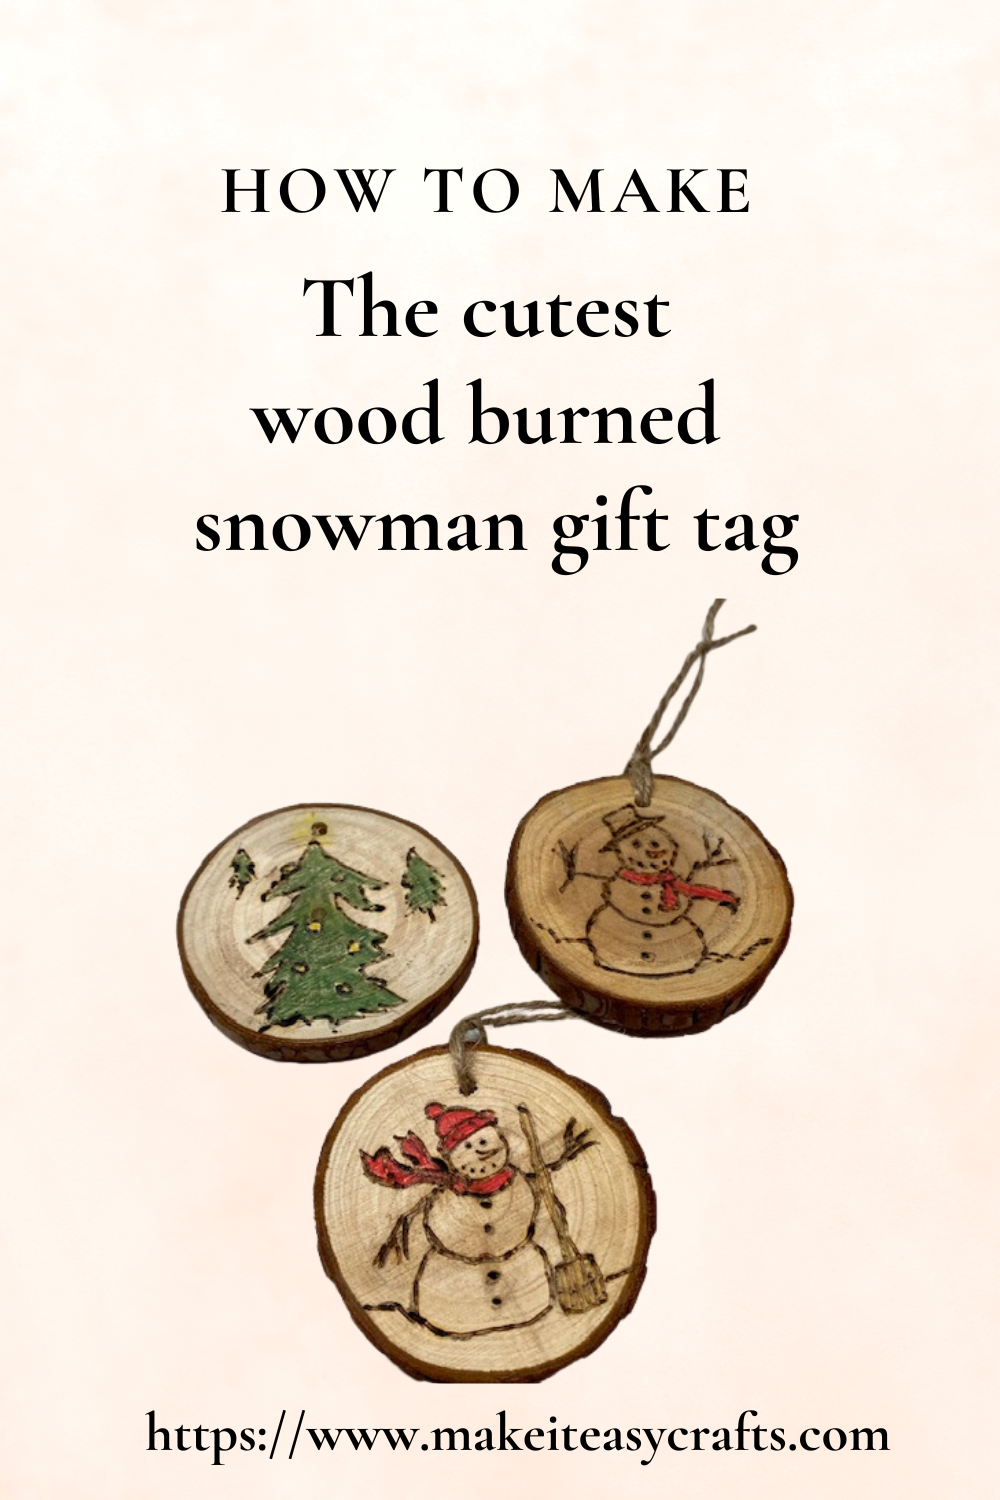

snowman gift tag


How to wood burn the cutest snowman gift tag

Materials:

Woodburning tool

Wooden rounds with bark

Watercolor colored pencils

Fine sandpaper

Pencil

Rubbing alcohol

Small paintbrush


Instructions:

First, sand the fronts of your wooden rounds to smooth out any rough spots. Now, draw the snowman in pencil on the front of the round. Use the examples given, but you can always add some extra additions to your snowman to personalize. Ex: Nurses cap, etc.
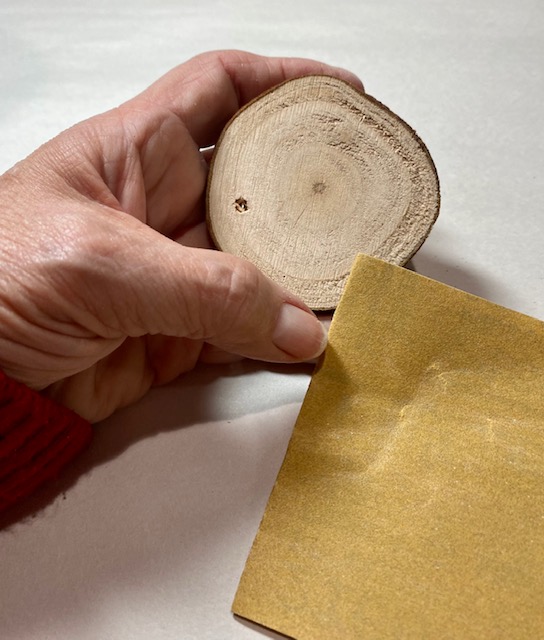


snowman gift tag

Begin burning your tag

Next, heat up your woodburning tool.  Be extra careful since these tools get extremely hot. Carefully trace the lines on your snowman with the woodturner.  

snowman gift tag


When you have finished it is time to color in the parts you want to accentuate. Color the scarf, hat, etc. with the watercolor pencil of choice.

snowman gift tag


Now, using the alcohol and the small paintbrush brush the color to blend.  The alcohol makes the color sink into the wood itself.


snowman gift tag


To finish write to and from on the opposite side of the tag and use the woodturning tool to outline it.


Add the string for the tag (They are usually included with the wood rounds)

snowman gift tag


Wednesday, December 20, 2017

How to make a unique holiday gift for your favorite hairdresser


Do you need to make a unique little holiday gift for your favorite hairdresser?  You can give a gift card or an extra large tip but if you want to give that unique holiday gift that will be treasured then, paint one! 

It’s easy with these step-by-step instructions.  Simply purchase a wide backed hairbrush.  I got one for a song at a department store.  This little snowman will be perfect for the holidays and even throughout the winter. Tie a festive bow on the handle and you will have a perfect and unique holiday gift for your hairdresser!

Materials:

Wide backed hairbrush
Acrylic paint, white, black, Payne’s gray, red, orange, burnt umber, ultramarine blue
Small paintbrush
Ribbon Bow
Alcohol
Paper or foam plate to use as a palette

Instructions:

1.     Gather all your supplies. Then, Wipe down the back of your hairbrush to remove any oils. 


2.     Next, working on the back of the brush, load your brush with white paint.  Make a small circle close to the top of the hairbrush.


3.     Now make two circles, each larger than the previous one on top of each other.  (Snowman is shape made)


4.     While the white paint is still semi-wet add some blue to the left sides curving around each white circle.  Blend together so there is no line of demarcation.


5.     Add some extra white paint where it needs it.

6.     Now, draw a hat shape with the Payne’s gray.  Add a little white paint on the right side and top and blend together. Let dry.


7.     Finally, paint a red scarf around the snowman’s neck.  Add two black dots for eyes, and several for the mouth.  Paint an orange triangle shape for the nose and underline with the burnt umber for shadows.

8.     Finish the snowman.  Use black paint and burnt umber to paint two arms.  It doesn’t matter what direction it faces or how many twigs you add. Add some little dabs of white paint on the twig arms, and top of the hat.  Then, add some snow with white paint under the snowman.  Use the blue paint to add some shadows.  For a final touch add some dots for snow. (Optional)


9.     Tie a bow on the handle and give to your favorite hairdresser!


Monday, July 24, 2017

How to easily make an adorable snowman ornament

snowman ornament


It's July, and July is the best time to start making your Christmas ornaments.  This snowman ornament is made from a recycled K-cup so it's green as well as adorable. The days are warm and lazy and the kids are out of school so there is plenty of time to create!  Get a head start on Christmas with this sweet recycled k-cup snowman ornament before school starts back and you are swamped with PTA meetings, soccer games and more.

Here at Make it easy crafts, it's Christmas in July with the easy k-cup snowman ornament.


Materials:

Two used K-cups, one black, and one white. (Filters removed and washed.)

Black Felt

Black and orange dimensional fabric paint

12” of 1/8” ribbon

Tacky craft glue

Compass

Ruler

Nail or something to puncture a hole in the tops of the K-cups

Round paper punch

White colored pencil to mark on dark felt

Scissors

Large eye darning needle (optional)

Pony Bead


1.     Insert the white pencil in the compass and make a 1 ½” diameter circle on the black felt.  In the same starting point make another circle inside the first one at a 1” diameter.  Cut out the first circle and then cut out the center circle. You will have a felt ring.  (See photo)


2.     Slide the felt ring on the black K-cup stopping at the rim.  Snowman’s hat made. Set aside.


3.     Turn the white K-cup upside down and make a hole in the center with the nail.  Repeat for the black K-Cup with the felt rim.  


4.     Place the top of the black K-cup down on the black felt and trace around with the white pencil.  Cut out.  Make a mark on the felt where the center hole is and make a hole with the paper punch.  Line up the felt with the hole on the top of the hat and glue down with some tacky glue.  Let dry.  Trim any excess felt with the scissors.


5.     Thread a pony bead on the ribbon, center so that it is in the middle with six inches on each end.  Insert both ends of the ribbon through the hole in the white K-Cup.  The pony bead will secure it to the inside. You may use a large eye darning needle here to get through the hole easier although I had no trouble doing it with just the ribbon.  Tie a knot in the ribbon one inch from the top of the white K-Cup, and then continue to thread it through the top of the black K-cup.  The knot separates both of the K-Cups so they hang independently. (See photos)


6.     Tie a knot in the top of the final end of the ribbon to hang the ornament.  


7.     Tilt the hat so you can use the black and orange dimensional fabric paints to make a face on the snowman.  (See photo) If you want, you may add some glitter glue on the top of the hat for extra pizzazz. Let the paint and glitter dry.  When hanging the hat will sit straight with the snowman dangling under.  


SaveSave