It’s allergy season and who doesn’t carry some extra tissues
with them? Follow this tutorial and you
can easily make a duct tape tissue holder to carry those tissues. This tissue holder is so simple to fold using easy origami folds and duct tape.
Duct tape comes in a myriad of colors and patterns do you can
find one to fit your very own style. You
will want to make one in several colors and patterns!
Materials:
Duct tape in your choice of colors
Sheet of printer paper
Pocket pack tissues
Plastic cutting mat
Xacto or craft knife
Scissors
Ruler
Instructions:
1.
Cut a piece of printer paper 7 ½” x 7 ½”.
2.
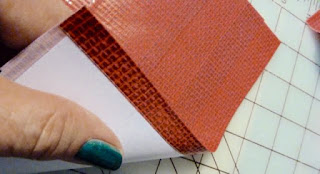
It’s easy to work on a cutting mat where you can
measure and cut the duct tape. You can
use scissors to cut the tape, but it is easier to cut the duct tape with a
ruler and craft knife directly on the mat. Cut several strips of duct tape 8
inches long. Begin to cover the paper
square. Continue to add strips of duct
tape to the square until you completely cover the side. Turn it over and cover
the opposite side. Trim up any excess
duct tape.
3.
Fold the duct tape covered square
diagonally. Run your finger over the
crease.
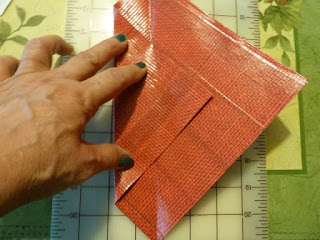
4.
Open the square and fold the left edge over
about halfway.
5.
Fold the point back to the left lining up the
seam with the center fold line.
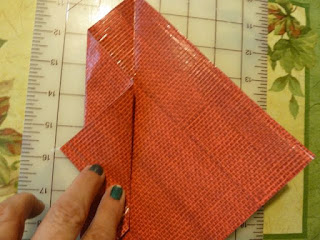
6.
Fold the right side back over the first point
and crease.
7.
Fold the point over to the right and line up the crease with the center line like you did on the other side. Turn over.
8.
Fold the two overlapping points on each side to
the back.
9.
Fold the top and bottom points to the back as well and
crease.
10. I
like to put a tiny piece of duct tape to hold the points on the back until the
final piece of duct tape is applied. (I’ve
used a different color so you can see)
11. Cut
two pieces of 4 ½” long duct tape and attach to the back to finish and secure the tissue
holder. Turn over for the pocket area.


You are so clever! Thank you!
ReplyDelete