

If you are looking to make some gorgeous items for gift-giving
this year this pansy hairpin is a perfect stocking stuffer or small gift for
any gardener, teacher, etc. Make them in
sets and display them on a piece of cardstock edged with decorative scissors.
They are so easy to make with the air-dry paper clay. After it is dry follow these step-by-step
instructions to paint and then add the hairpins or jewelry findings. This hairpin is an easy version of the pricey
capo di monte flowers so popular these days.
Don’t stop with hairpins though.
These flowers look wonderful added to jewelry boxes, necklaces, and
mixed media applications.
You will want to make several for everyone on you gift list!
Materials:
Paper clay air dry modeling clay
Acrylic paint, Purple, navy, light yellow, bright yellow,
white, and metallic purple
Acrylic gloss finish
Small flat paintbrush, liner brush
Work surface lined with waxed paper
Hot glue gun and hot glue sticks
Hairpin with bezel
Instructions:
Make the pansy
1.
Roll out one large ball and four small balls of
the paper clay. The large one is
approximately ¼” and the small ones 1/8” but the measurements are do not have to be exact. Natural flowers are all different sizes.


2.
Mold the larger ball with your fingers into a
crescent shape, then press it flat. Mold
the smaller balls into tear drop shapes and flatten with your fingers.


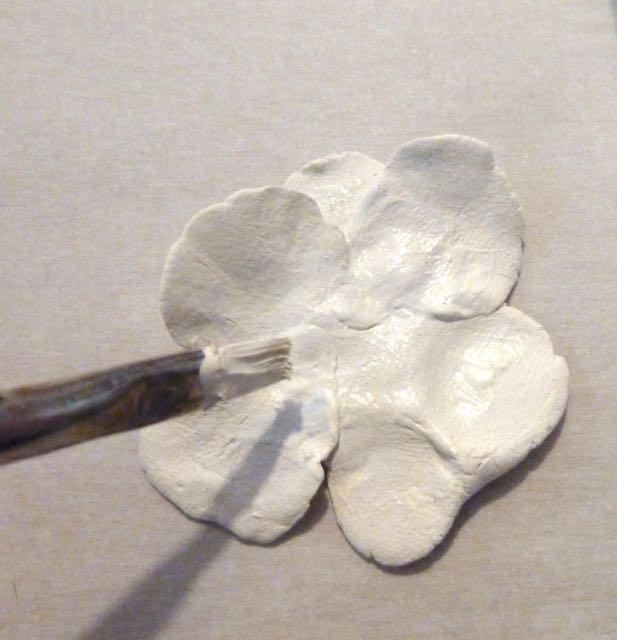
3.
Add the smaller flat petals to the larger piece
as shown. Set aside and let dry
completely. Drying will take one to two
days depending upon the humidity and other factors.


Paint the pansy
4.
In a palette or paper plate add some acrylic
paint in navy, dark purple, white, light yellow, bright yellow, and metallic
purple.

5.
With the flat paintbrush add some white acrylic
paint from the center to halfway up each of the petals. While the paint is still wet, add some light
yellow paint on each of the petals right to the area of wet white paint, blend
together.


6.
Next, and while the paint is still wet add dark
purple from the edge to the where the yellow color begins. Rinse your brush and use it to blend the areas
together. Repeat all around. See photo.


7.
Now, using the liner brush, add some white paint
in an inverted V- shape.

8.
Make ragged lines from the center into the petal
with the navy and liner brush on four petal areas. (See photo)


9.
Add some bright yellow right under the white
center area.

10. Work
around the edges, darkening the purple and navy sections if necessary. Let dry.

11. Turn
to the back and Paint the entire back metallic purple. Let dry.


12. When
all the paint is dry, brush on a coat of gloss acrylic finish and let dry.

13. Fill
the bezel area of the hairpin with hot glue and carefully press it to the
center back of the flower. Let dry and
enjoy!


Love this Crystal! It looks so unique and of course, you painted it with purple! I will have to try out paper clay!
ReplyDeleteYou will love it Gail, it's so much fun to work with and lightweight when it air dries.
DeleteSo pretty Crystal!!!
ReplyDelete